
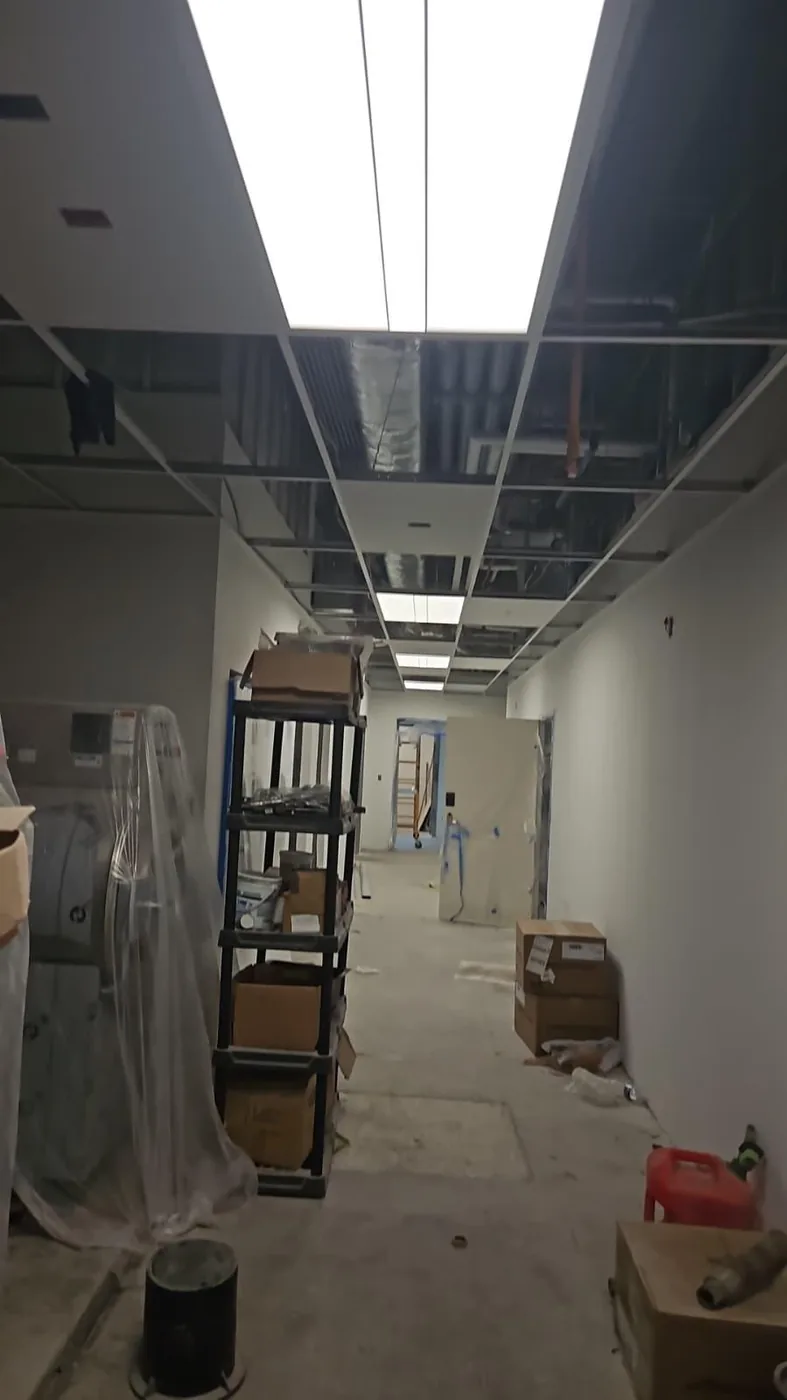
1. Confirm the fixture package
Compare the lighting schedule with the actual submittals before rough-in. Fixture size, mounting method, driver arrangement and lead time can affect the ceiling layout and the order of work. An approved change needs to reach the field crew before boxes and supports are fixed.
2. Agree on the ceiling layout
Lighting has to coexist with diffusers, sprinklers, speakers, access panels and architectural features. A coordinated reflected ceiling plan helps the trades see the same finished layout. Flag conflicts while the ceiling grid and framing are still accessible.
3. Clarify how the controls should work
Identify switching zones, sensors, dimming interfaces and any integration with other building systems on the approved design. The installation team needs the current control intent before pulling conductors and closing walls.
4. Protect power and access routes
Review where feeds enter fixtures and how drivers, control devices and junction points can be reached later. Changes to ductwork or ceiling height can affect both the pathway and access for future service.
5. Test before turning the space over
Plan enough time for checks, controls setup, corrections and coordination with the other trades. A fixture that lights up is only part of the finished result; the installed system should match the approved design and the project's closeout requirements.
The practical takeaway: review the lighting package with the architect, GC and affected trades before close-in. Fewer unanswered questions at that stage mean fewer surprises at trim.
← All articles